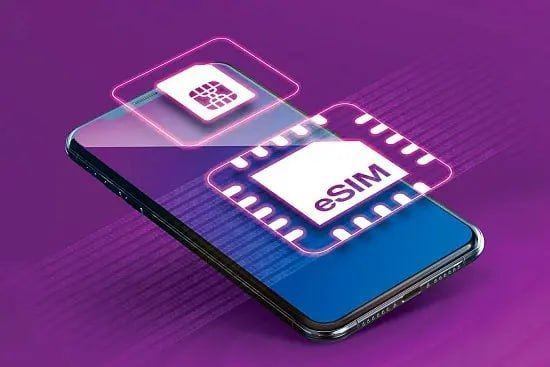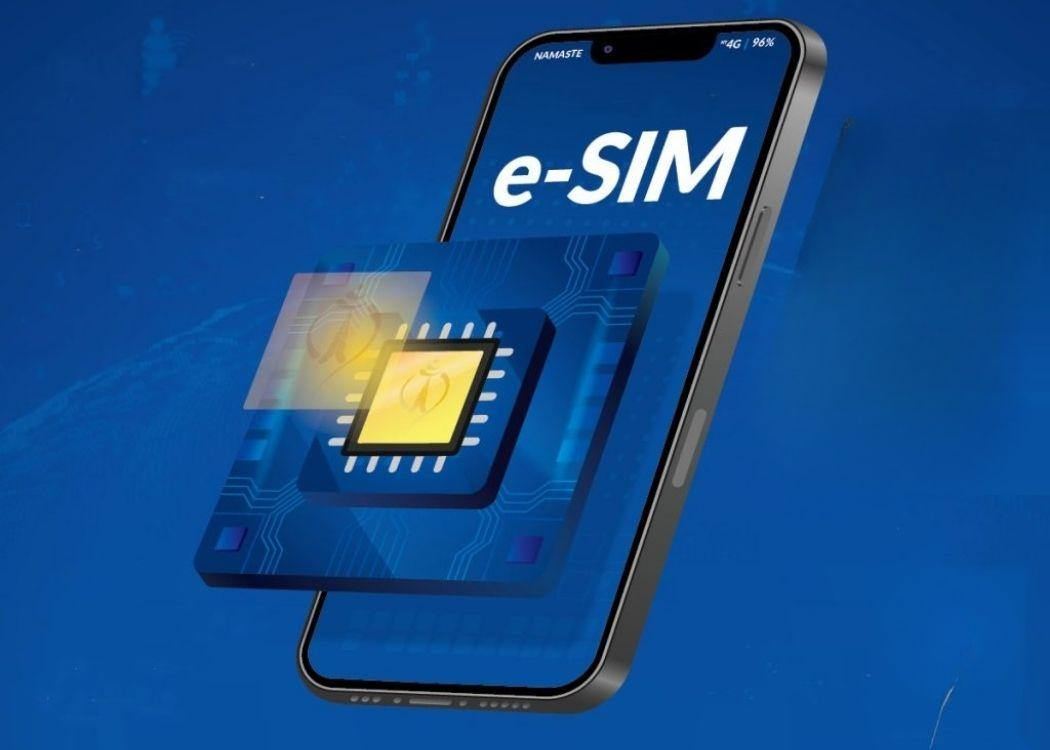
In recent years, eSIM (Embedded SIM) technology has become increasingly popular, allowing users to move away from physical SIM cards and use a digital SIM card directly on their devices. This opens up new opportunities for mobile users, such as the convenience of managing multiple numbers and improved security. In this article, we will look at how to switch to eSIM, which devices support this technology, and what benefits it brings.
What is an eSIM?
An eSIM (embedded SIM) is a digital version of a regular SIM card. Unlike traditional SIM cards, which are inserted into a device slot, an eSIM is integrated directly into the device and does not require physical intervention. An eSIM provides the same functionality as a regular SIM card, but with a number of additional benefits, including the ability to change carriers without having to change the physical SIM card.
Benefits of using eSIM
Step-by-step guide to switching to eSIM
Step 1: Check the compatibility of the device
Not all devices support eSIM. To get started, you need to make sure that your device supports this technology. Many modern smartphones, tablets, and even some laptops have built-in eSIM support.
For other devices (for example, some models of laptops and tablets), eSIM-enabled versions may also be available. Check your device manufacturer's instructions.
Step 2: Contact your mobile operator
To switch to an eSIM, you need to contact your mobile operator and request a digital SIM card connection. Typically, you will need to visit the official website or call customer service to verify your identity and request an eSIM profile to do this.
Some operators also offer the ability to transfer your current SIM card to an eSIM through a mobile app or personal account. Make sure your carrier supports eSIM – many major carriers already provide this service.
Step 3: Get an eSIM profile

When the carrier confirms your request, you will receive a special QR code that you need to scan with your device. The QR code contains information about your eSIM profile, which will be activated on your phone.
In some cases, you may need to manually enter the activation code provided by the carrier.
Step 4: Activate the eSIM on the device
Now that you have the QR code or activation code, go to the device settings and look for the section dedicated to mobile networks and SIM cards. For iPhones, for example, this would be the "Cellular" or "Mobile Data" section. Then select "Add cellular plan" and scan the QR code with your device's camera.
The eSIM activation process usually takes a few minutes. Once activated, your mobile number will be linked to your eSIM, and you can start using mobile communications without a physical SIM card.
Step 5: Restart your device and enjoy the benefits of eSIM
After activating the device and completing the setup, it is recommended to restart the phone for the eSIM to work correctly. Your device will be ready to use with an eSIM, and you will be able to enjoy all the benefits of this technology.
Conclusion
Switching to eSIM is a convenient and technological step for those who want to improve mobile management, increase security, and save space in devices. With a simple step-by-step process, you can set up an eSIM on your device and start enjoying all its benefits. It's important to remember that not all carriers and devices support this technology, so it's worth familiarizing yourself with the capabilities of your device and carrier beforehand.

